Okay, so I just found this post in my drafts folder, but for whatever reason, I never published it. Have I mentioned that I'm a better woodworker than a webmaster?
Here we go:
Now that the rafters are up, it's time to carve the dragon head and tail, since they will support the fascia.

I don't think there's anything I enjoy more in playhouse construction than the carving. First I need some real big hunks of cedar, which thanks to my neighbor with a bandsaw mill, are easy to come by (though heavy to lift). I start with the tail. First, I cement my status as an Olympic Peninsula artist/woodworker by grabbing my chainsaw.
I use a chainsaw mortiser to make that hole below so the tail can mount onto the tenon projecting from the curved ridge beam. Then I start roughing out the tail.
Now for the scales.
Next up is the little guy for the dormer.
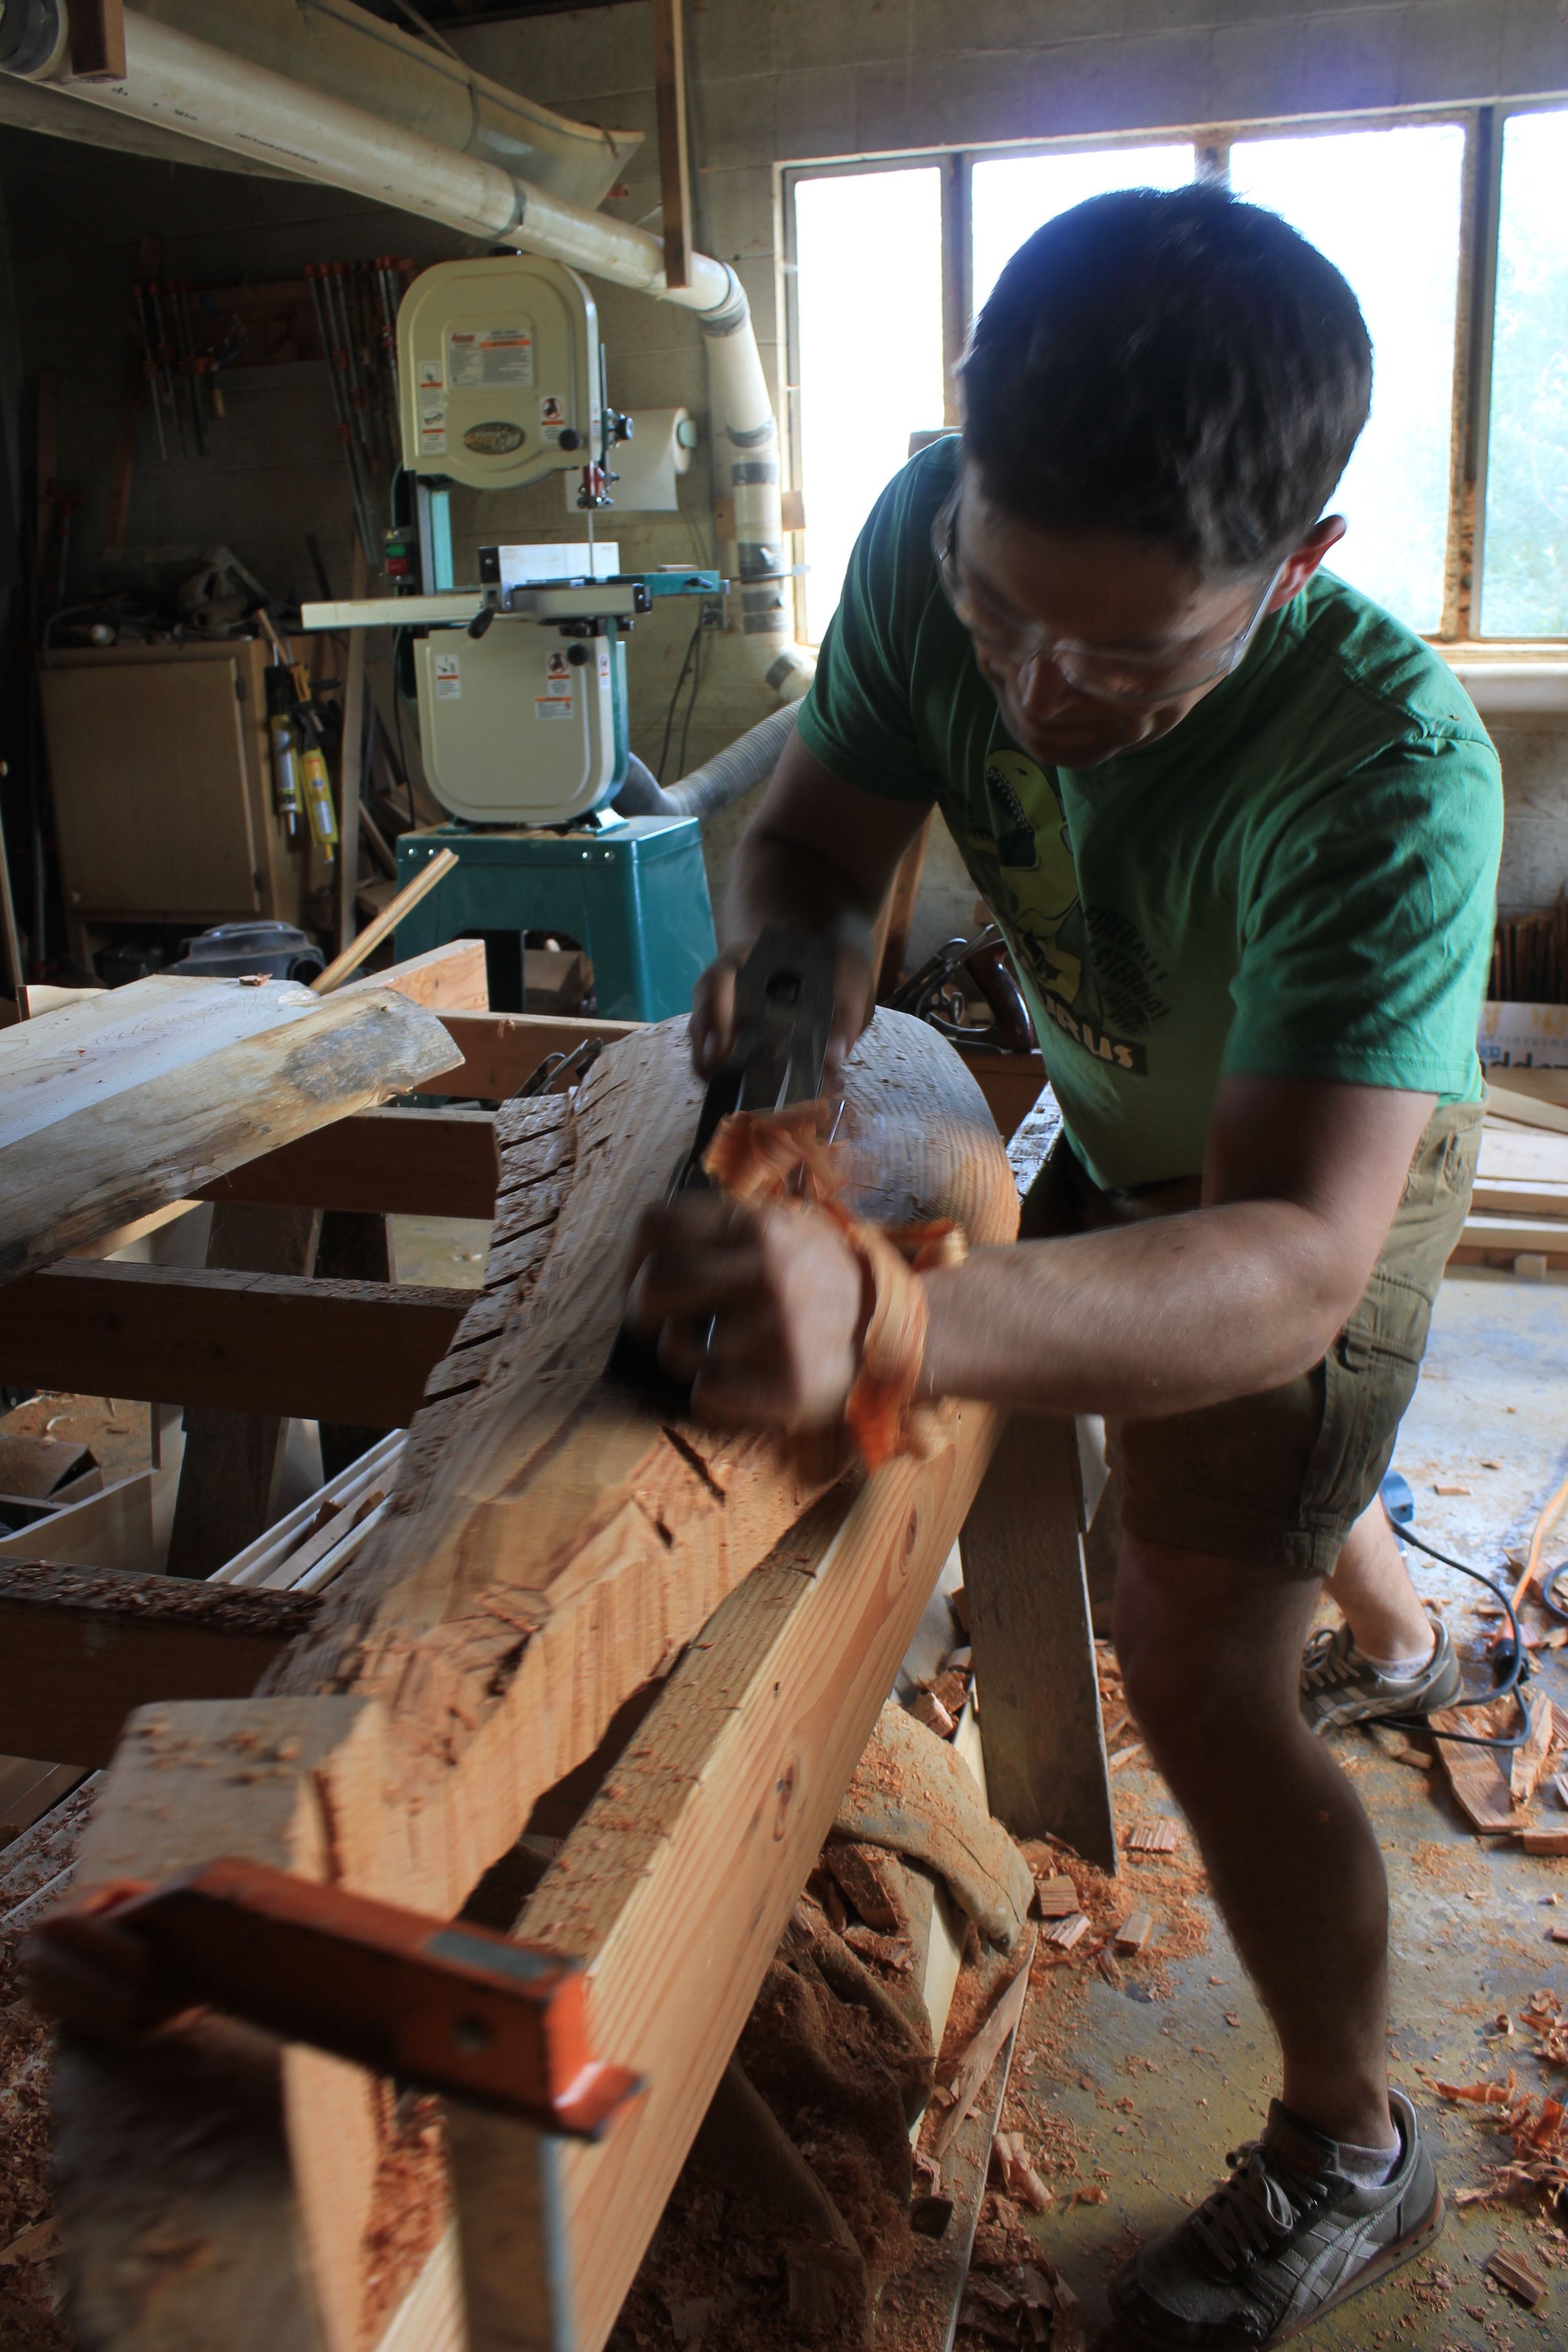
And then comes the big boy up front. I mortise and tenon two cedar 8x15s together at a slight angle for proper grain direction and then it's time for the chainsaw mortiser again. I use every tool at my disposal, starting with the chainsaw, which gets me to here.
I don't have quite enough width for the frill, so epoxy on some more cedar. It's a real balance, carving a dragon for a child's playhouse: you don't want it tol loo too menacing, but you I also don't want it to look like Puff the Magic Dragon. I feel like this guy strikes a nice balance. Eventually I'm using carving gouges, detail sanders and test fitting the Texas longhorns I bought on Ebay from a taxidermy outfit.
After some painting, I'm done!
The head is removable, because with it on, the playhouse is too tall to travel down the highway on my trailer. In retrospect, I would have designed it lower, but live and learn, right? It all worked out in the end.